Tips for Resurfacing
A Cracked Concrete Driveway
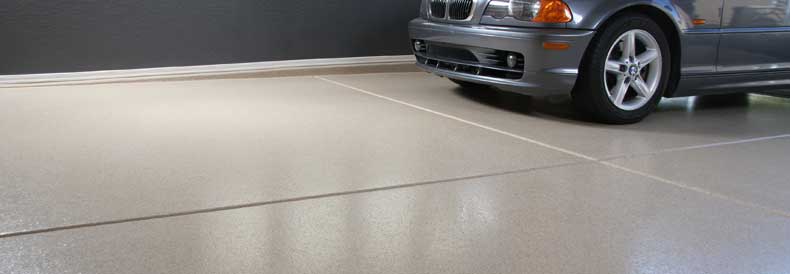
When you decide to begin a DIY project, be sure to know all of the aspects that await you. Sometimes it’s just easier to call a professional, however, if you’re determined, keep reading. Driveway repair is not a simple process for the average Joe, there are equipment requirements, time constraints, and weather that must be considered. Concrete crack resurfacing your driveway can be accomplished, read below, and find a few tips to help your process before you start. You don’t have to replace your concrete to have it look like its previous self!
Cracks in Concrete
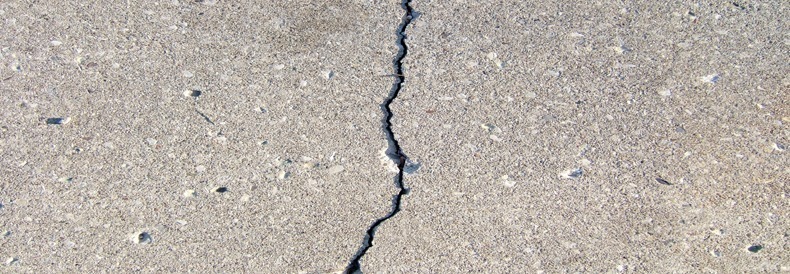
If you own a concrete surface, it is going to crack, regardless of how well you treat it. Exposed areas like driveway concrete surfaces are under pressure from vehicles, UV rays, changing weather, and so much more. The freeze-thaw cycle is not your friend either, concrete shrinks and expands, tree roots grow in, and the soil shifts throughout the year. All of these cracking reasons are out of your control so don’t stress, simply fix the cracks.
Cons:
- Concrete cracks no matter what
- Most cracking issues are ones that you can’t control
- Cracking can make your surface unsafe and unappealing
Pros:
- Concrete repair is more affordable than ripping the entire surface out
- When handled quickly surface cracks are not serious
- You can restore your concretes youthful appearance in 24 hours
Clean Concrete
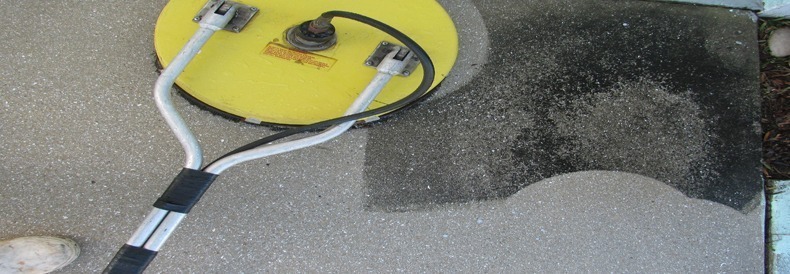
You cannot begin repairing your surface without having it properly cleaned first. A pressure washer is recommended to remove any old mold, weeds, mildew, dirt, debris, and dried run-off. These steps are important to ensure that your surface is installed properly.
Cons:
- A pressure washer is needed which is expensive to rent and buy
- Leftover sediment of any kind can prohibit proper resurfacing
- Your surface has to be cleaned thoroughly which can be time-consuming
Pros:
- Cleaning ensures a successful resurfacing project
- A clean surface increases property value
- If need be, this is a process that you can do yourself
Mix Concrete, Repair Cracks
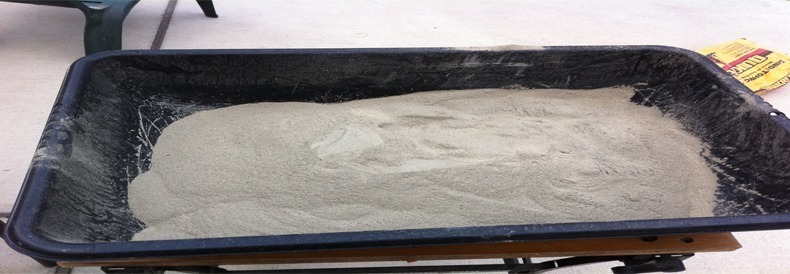
When pouring concrete into a bucket a 5-gallon one is recommended! In the kit you use, be sure to know the size of the cracks and areas you’re repairing because some mixes are better for different sizes. Do your research and read the instructions carefully.
Cons:
- Concrete mixes vary and research must be conducted
- Purchasing a different gallon especially for concrete mixing
- Be sure to know the difference in sizes with the areas you’re repairing
Pros:
- There are different types of mixing for different types of cracks which ensure the long-lasting benefits
- This is not something you need a professional for
- The instructions for any DIY resurfacing kit will give you specific instructions
Fill, Smooth, and Dry
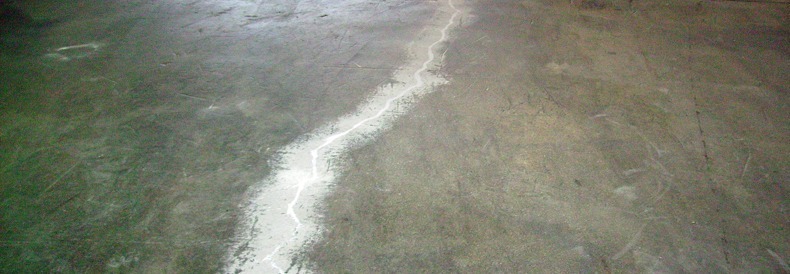
Once you have fully finished filling the cracks, be sure to smooth them out, you do not want them to be bumpy. Once these steps have been taken successfully, allow the crack fillers to dry fully, which can vary depending on the size of the cracks but typically it is an overnight wait.
- Drying time is important, and it is not quick
- You cannot simply leave once you have filled the cracks
- You must ensure the weather is complying before repairing and resurfacing
Resurfacing
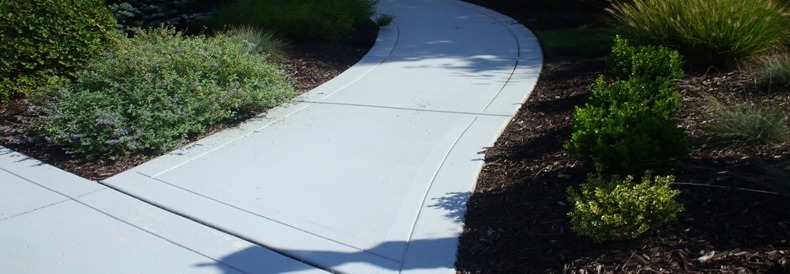
Once the repairs have been completed, you can mix the resurfacing contents! Your resurfacer should be the consistency of pancake batter but before application ensure that the surface is completely free of leaves and large debris. Spread resurfacing contents thinly across the driveway and as the concrete surface sets you can run a broom lightly across the surface to apply texture.
