How To
Resurface Concrete
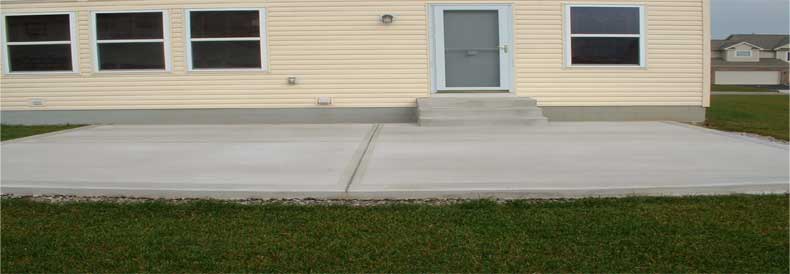
Compared to other home improvements and projects as such, resurfacing is pretty straightforward. Concrete resurfacing is a great option for a slab that is having cosmetic issues but is in otherwise decent shape. For structural issues, a much deeper and more thorough job is needed. As long as you can follow recommendations and read instructions carefully, this can be performed and used as a DIY project. When it comes to aesthetically unpleasing surfaces, resurfacing is a great way to redo your concrete surfaces like patios, garages, walkways, driveways, and more!
Repair the Surface
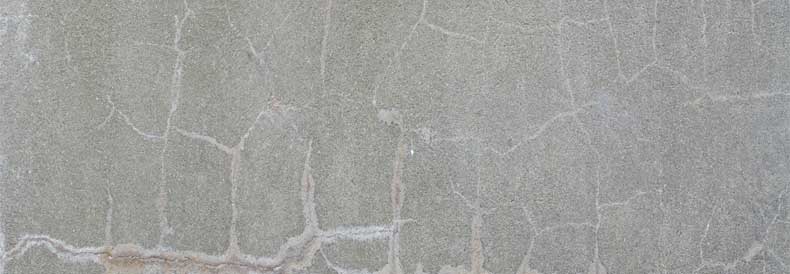
This may seem like a logical step not to skip and you’re right, it is. Do not skip this part or your resurfacing project will fall apart. If there are deep issues with the concrete, resurfacing will only work on masking the issues, not repairing them. Repair damages that would otherwise hinder a proper resurfacing job.
Clean and Prepare
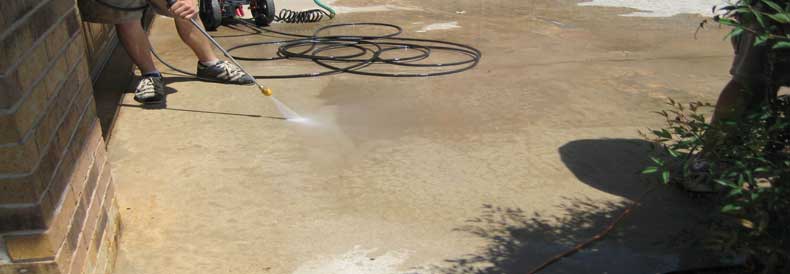
This is a critical step that can be catastrophic for the survival of your resurfacing job! Clean off any debris that may have accumulated from repairing the surface and any other previous coatings, oils, fluids, or stains. Hose down the area and give it a good pressure wash to remove all and any foreign objects! Sometimes stains are stubborn, so if you fail to remove the stain apply a sealer on top of the surface before resurfacing.
Expansion joints need to be protected when you begin resurfacing, so it is important to check for possible ways like tape or weather stripping to protect the areas. A resurfacer must be applied to a moist area, so some cooling can be done with hose water and then sweeping off any possible standing water.
Mix the resurfacer
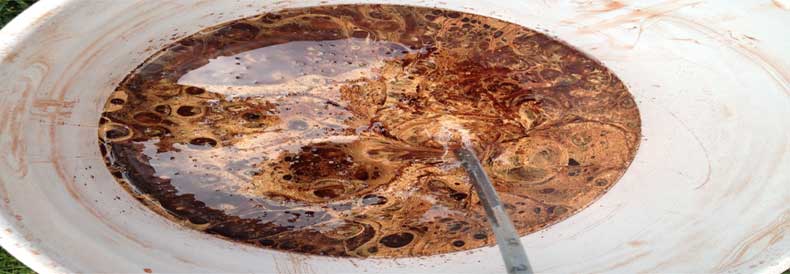
When you begin combining your mixture it is important to note that you should use warm water in cooler temperatures and cold water in warmer temperatures. It is commonly suggested to pour water into a five-gallon bucket, then add the resurfacing mixture, and stir for several minutes. Once the mixture is pourable, let it sit, and then add a bit more water to make it almost like syrup. At this point, coloring agents can be added if they are desired.
Apply the Resurfacer!
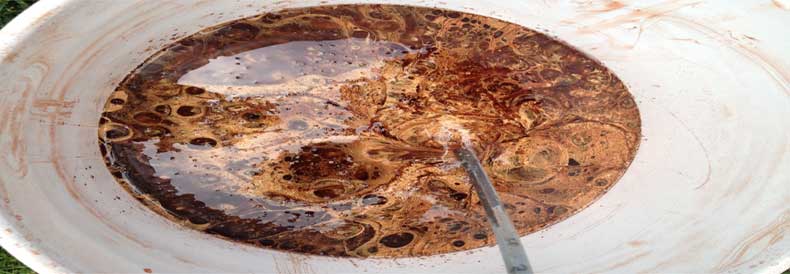
We highly recommend pouring out the contents of your bucket in small amounts throughout the space and then immediately begin spreading it with a squeegee, trowel, or brush. Whenever you feel that a second coat is needed just make sure the first one has had time to dry for about 3 hours.
Scuff it good
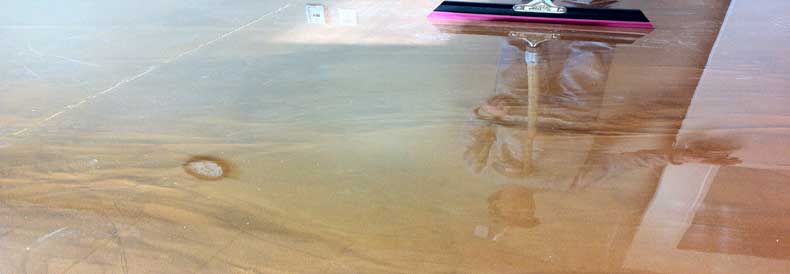
Once the resurfacer has been allowed to cure with your concrete it will create a very smooth surface. Even though smooth is what you desire, having a slippery and hazardous floor is not! To add a bit of texture to your floors you have to grab a broom and make full strokes across the not fully dried surface. Simply make sure that all strokes are made in the direction!
Final Product
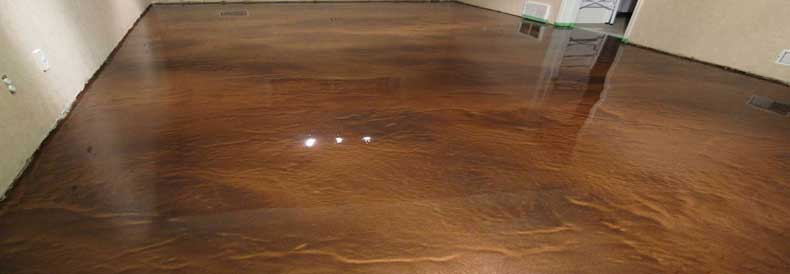
Let the surface dry fully. As it finishes drying, your floors will become stronger and ready for full use. Keep the surface moist while it dries but protects it from heavy rainfall.
